Product design: a mini guide to get the design started
This blog post details a 6 step-by-step guide that can enable a discovery team to set the ground before designing and developing a feature.
TL;DR
Organise a meeting (maximum 2 hours) with the discovery team, focus on one feature at the time:
- Define the idea behind the feature (10 minutes)
- List your assumptions (10 minutes)
- List your hypothesis (10 minutes)
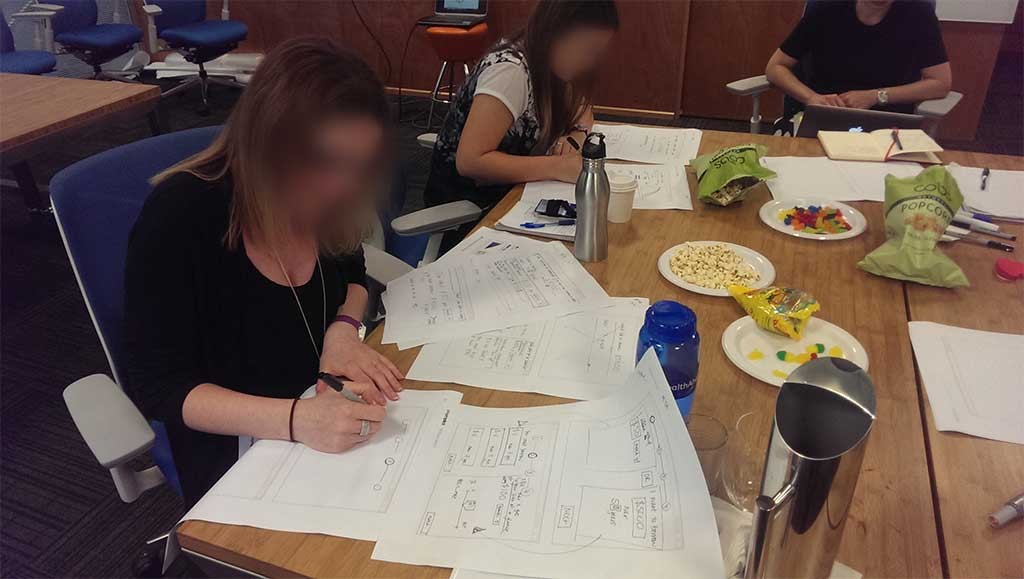
- Sketch and strive for richness instead of rightness (something between 20 to 40 minutes).
Step 1: gather together for 1 or 2 hours
Keep this time focus on one feature, there is no need to try to tackle as many features as possible. Focus keeps momentum and helps the team giving the best of their capability.
There is no need to invite the entire village, all you need is a product owner, a senior engineer, a business analyst and a UX designer. Jeff Patton talks very well about the composition and role of a discovery team on his blog.
Step 2: explain what you will be doing and why
Like any collaboration time, it is important to list the activities you will be doing in order to get buy-in. For the first time, it is very likely that people will push back, or even completely dismiss these activities. The people your work with will need clarity in order to participate effectively, it is all about understanding and making sure that no one is wasting time.
Step 3: define the idea that will become the feature
Before focusing on the feature, briefly describe the intent of the feature, take the time to emphasise the desired impact in the world and make sure everyone in the room gets it. There are plenty of ways to frame an idea but I will leave this for a different blog post.
Step 4: list your assumptions about the features
As mentioned before, be prepared to explain why you need to do this. Define the word assumptions and explain that it could be something that we believe is a fact or something that we believe is true.
Then explain that these assumptions can be anything ranging from; technology, legal, design, user problem, business, etc. Because the discovery team is made of different point of view, you will have assumptions of a different nature and that’s completely fine.
Finally, list your assumptions on a piece of paper for 10 minutes. I use an exercise that I borrowed from Laura Klein’s fantastic book Build Better Product, to help the team list their assumptions, start with the sentence “The feature will fail unless…”. Once all your assumptions are on the table, you might want to challenge some of them and schedule user research activities in order to validate or invalidate your assumptions. Finally, take the time to identify the riskiest assumptions from the list and make sure the team chat about it.
Step 5: write your hypothesis and your predictions
A hypothesis is something that the discovery team believe will happen if they ship a feature into the world. Here is an example borrowed from the podcast What’s wrong with UX; “If I add salt in the soup it will make it better for humans that like salt”. It is exactly the same process with a feature; “If we redesign this form, our users will be able to complete task X in less time than our users are doing it today”.
Writing down a hypothesis make the team accountable for what will happen in the future. The team will need to revisit the hypothesis after the feature is shipped in order to understand if what the team believed at the time was true or not. Writing your hypothesis and think about how you will measure the impact can be done in 10 minutes.
Step 6: sketch a range of solutions
Sketching one solution as a group is good but not great. Discovery team are small and made of different personalities, therefore you might end up with one solution dictated by the strongest personality in the room. This is a trap, strive for richness instead of rightness because it is too early in the process to go down one path.
Taking the time to explore different approaches help creating a broad range of solutions. This activity can take from 20 to 60 minutes depending on the number of people you have in the room.
Once you have different solutions, you can start talking with the engineering team to assess the effort of the different solutions in order to have different directions for the design engineering part.
Wrapping up
Doing these activities should be fun and have everyone engaged. If you are doing this for the first time with your team, you might face resistance, but don’t give up, it takes time to get buy-in.
Once the activities are done, take the time to document everything and place it in whatever system that the team is using (Jira, TFS, etc).
How would you rate this post?
